Some BETT Reflections

Nicki   January 30, 2014   2 Comments on Some BETT Reflections

After spending three days at BETT last week I thought I would share with you some of the highlights.

Nicki Cooper at BETT 2014Wall of Appiness

I was working on the Microsoft stand demonstrating the “Wall of Appiness” which was a showcase of the range of apps now available for tablet devices on the Windows Store. There is now a huge variety of apps available for education with some of my personal favourites being:

  • OneNote – I can’t stress the usefulness of OneNote enough, I use it for everything from personal shopping lists to lesson planning and minutes of meetings. I even used it (along with Excel) to plan my wedding! The app format on tablets and phones is very fluid and synchronises well with the desktop version through SkyDrive.
  • NovaMind – fantastic mindmapping app
  • My Study Life – a planning app to help students and staff organise their timetables and assignments
  • Kodu Game Lab – now an app version which incorporates touch controls very nicely
  • Adobe Photoshop Express – a condensed version of Photoshop
  • Corinth Micro Plant – zoom into parts of a tree in great detail

Check out Stuart Ball‘s post, which has a much more comprehensive list over on the Microsoft Teachers Blog.

One particular highlight on the stand was a visit from Paul Kercall an art teacher, writer and tablet artist who asked if he could use Fresh Paint across all the tablets on our stand; he had just visited the Nao robot so had a picture on his phone and proceeded to paint one of the robot heads across the devices, it was amazing to watch and I managed to capture the picture’s development on video, here it is speeded up considerably!:
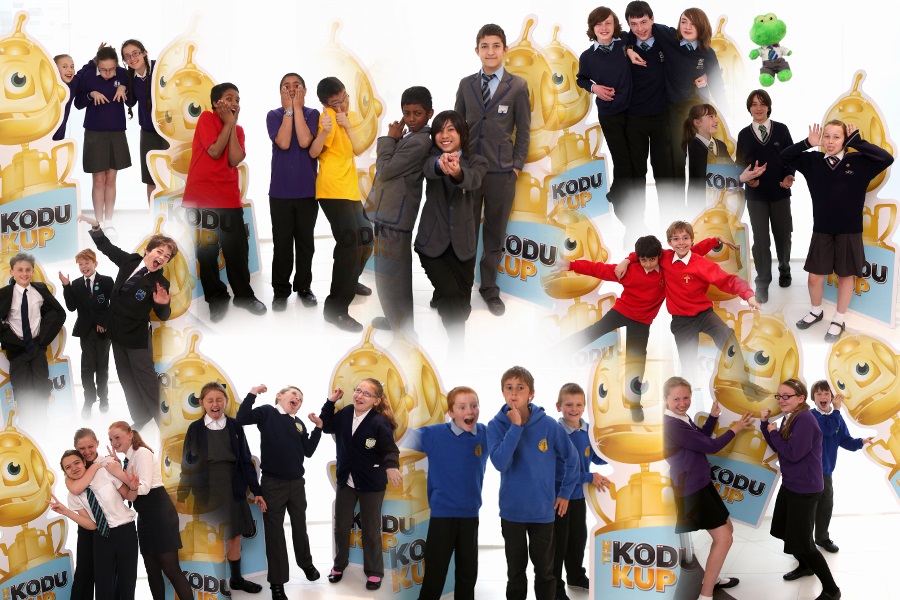
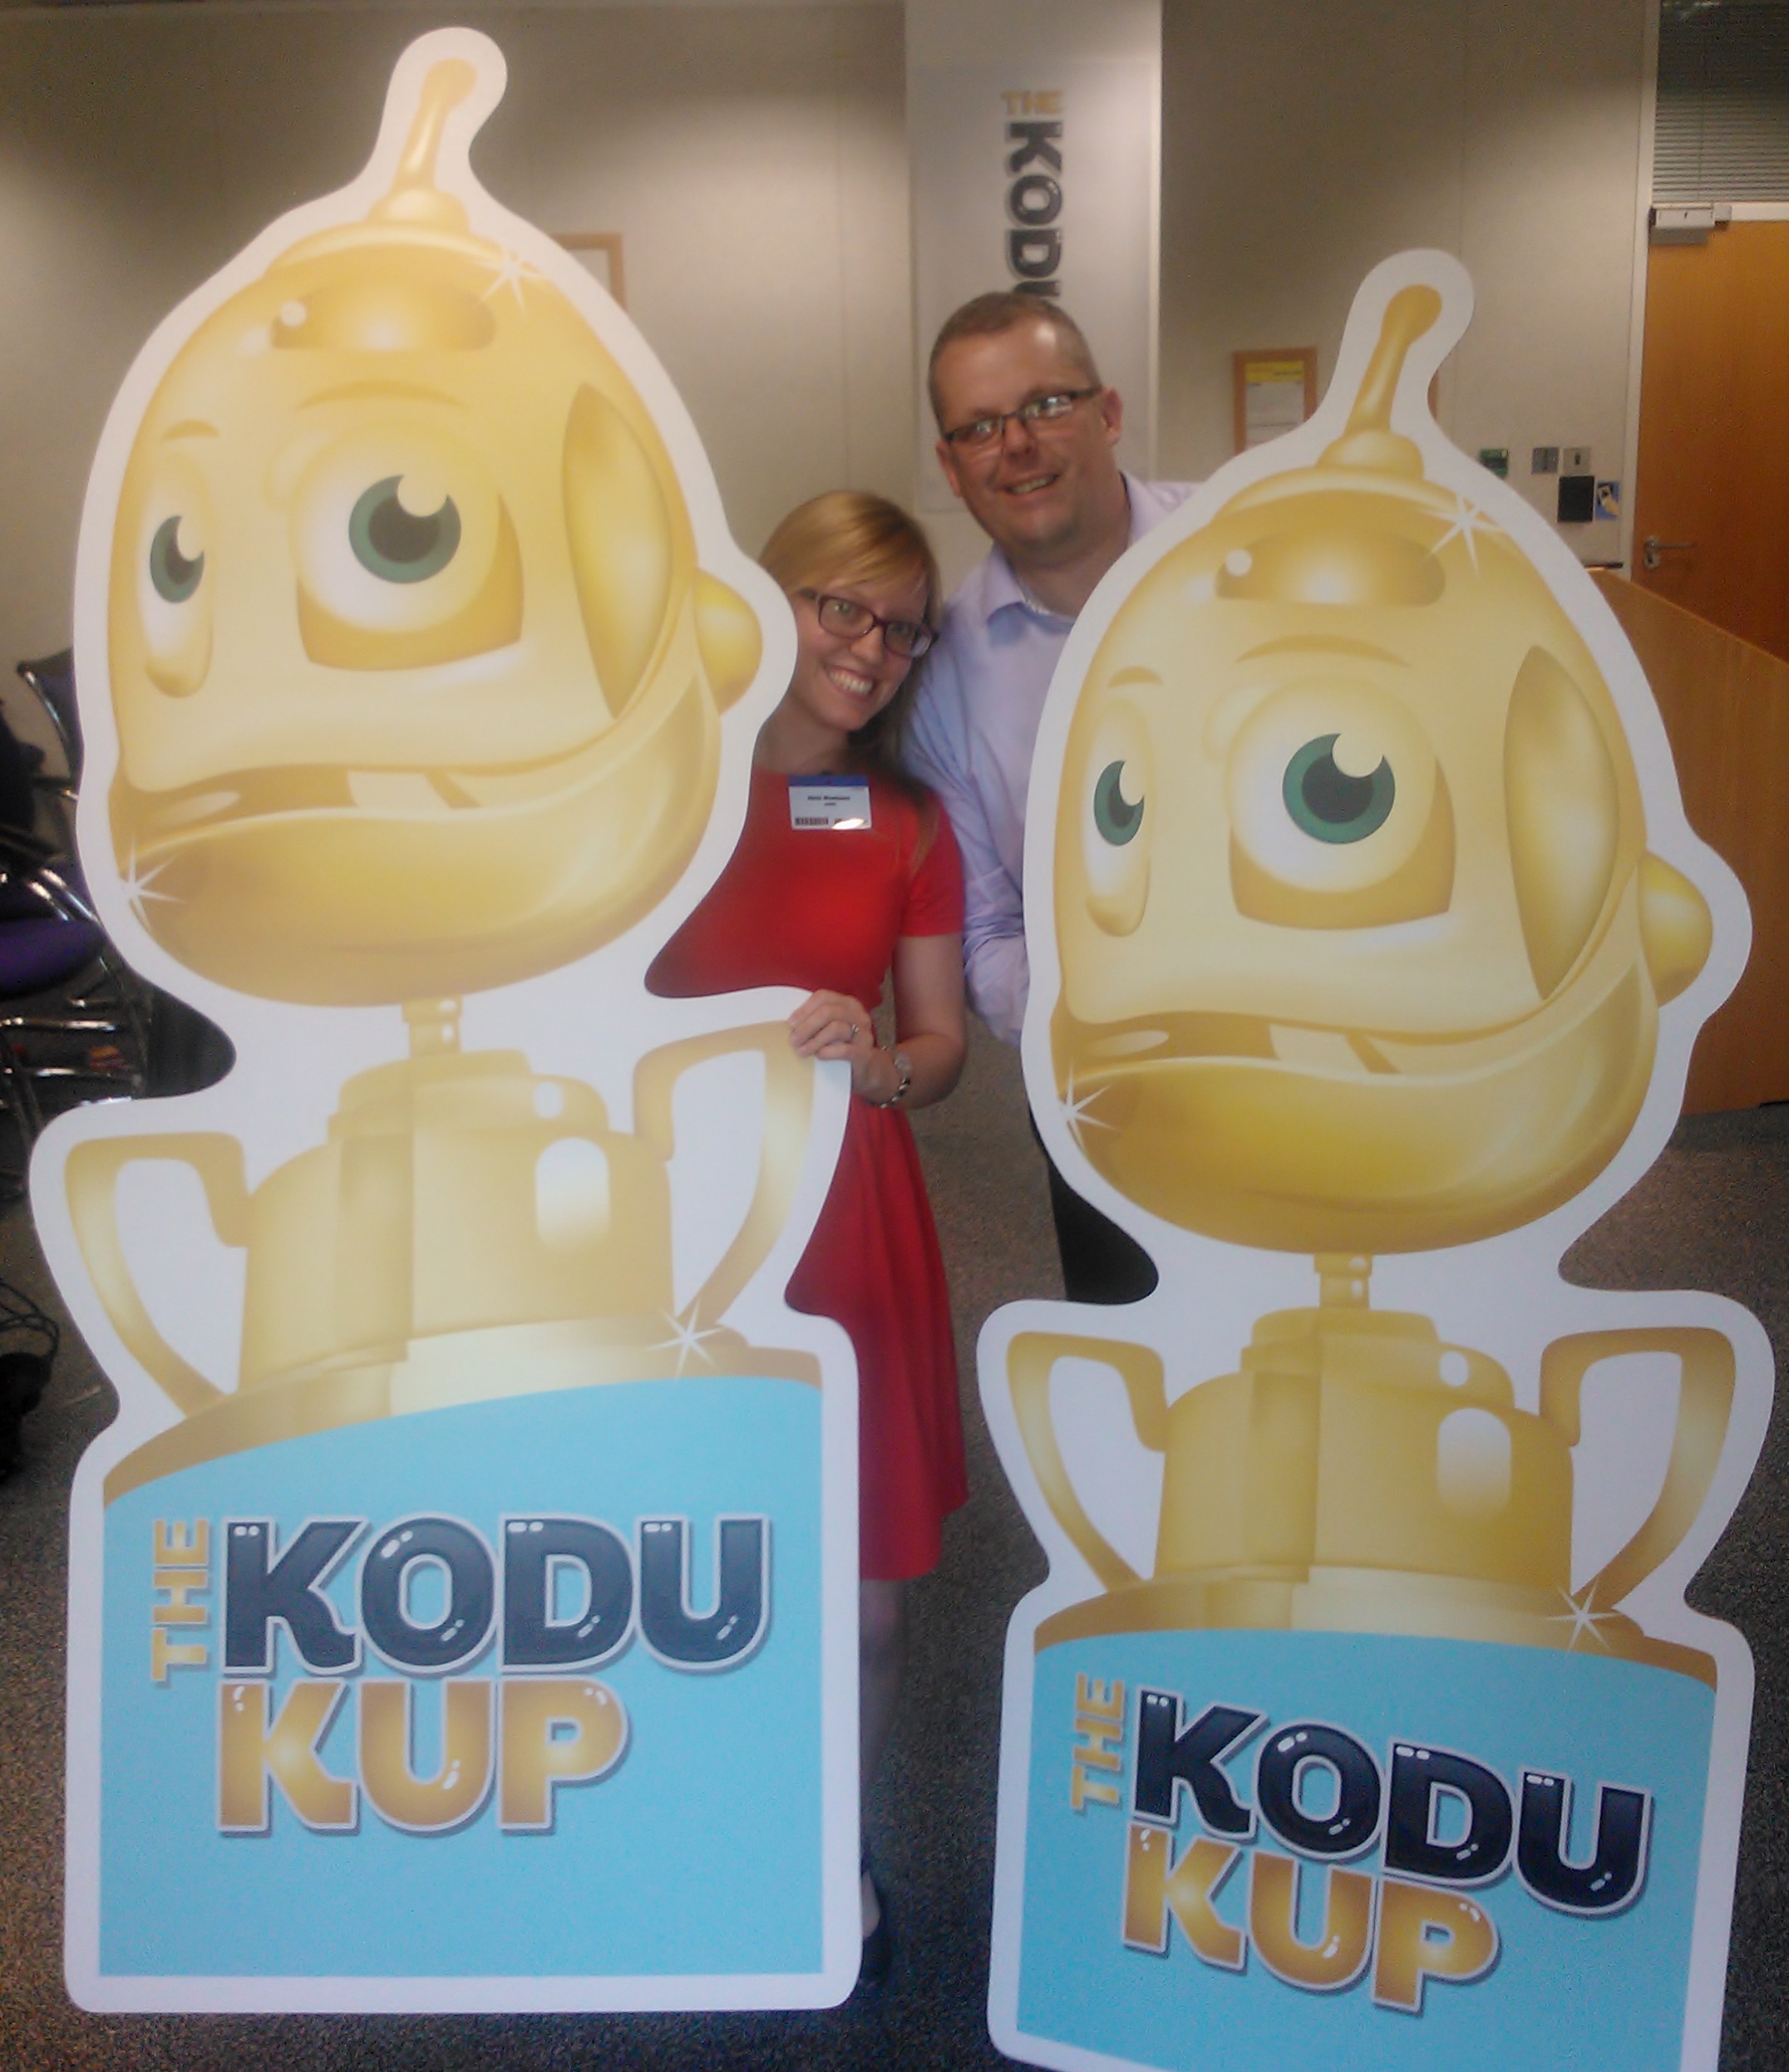
Kodu Kup

Nicki Cooper and Kodu KupIn addition to the apps I was also showcasing Kodu Game Lab and we launched this year’s Kodu Kup competition which I am really excited about! We have made some changes from last year; this year there is no theme but the requirement is that the games will have a clear and well-thought-out storyline, this leaves schools open to fit the competition around any literacy work they are currently doing. Children will also need to enter as a team of three, create their own game studio and produce game documentation to support their game. Like last year the finalists will be invited to Microsoft HQ in Reading and showcase their games to the judges. The winners in each category will receive a Windows Surface RT and the overall winners will receive the Kodu Kup! Take a look at the video below to see an overview of last year’s final:

http://www.youtube.com/watch?v=XOHhCJddeZY

BETT Awards

BETT Awards
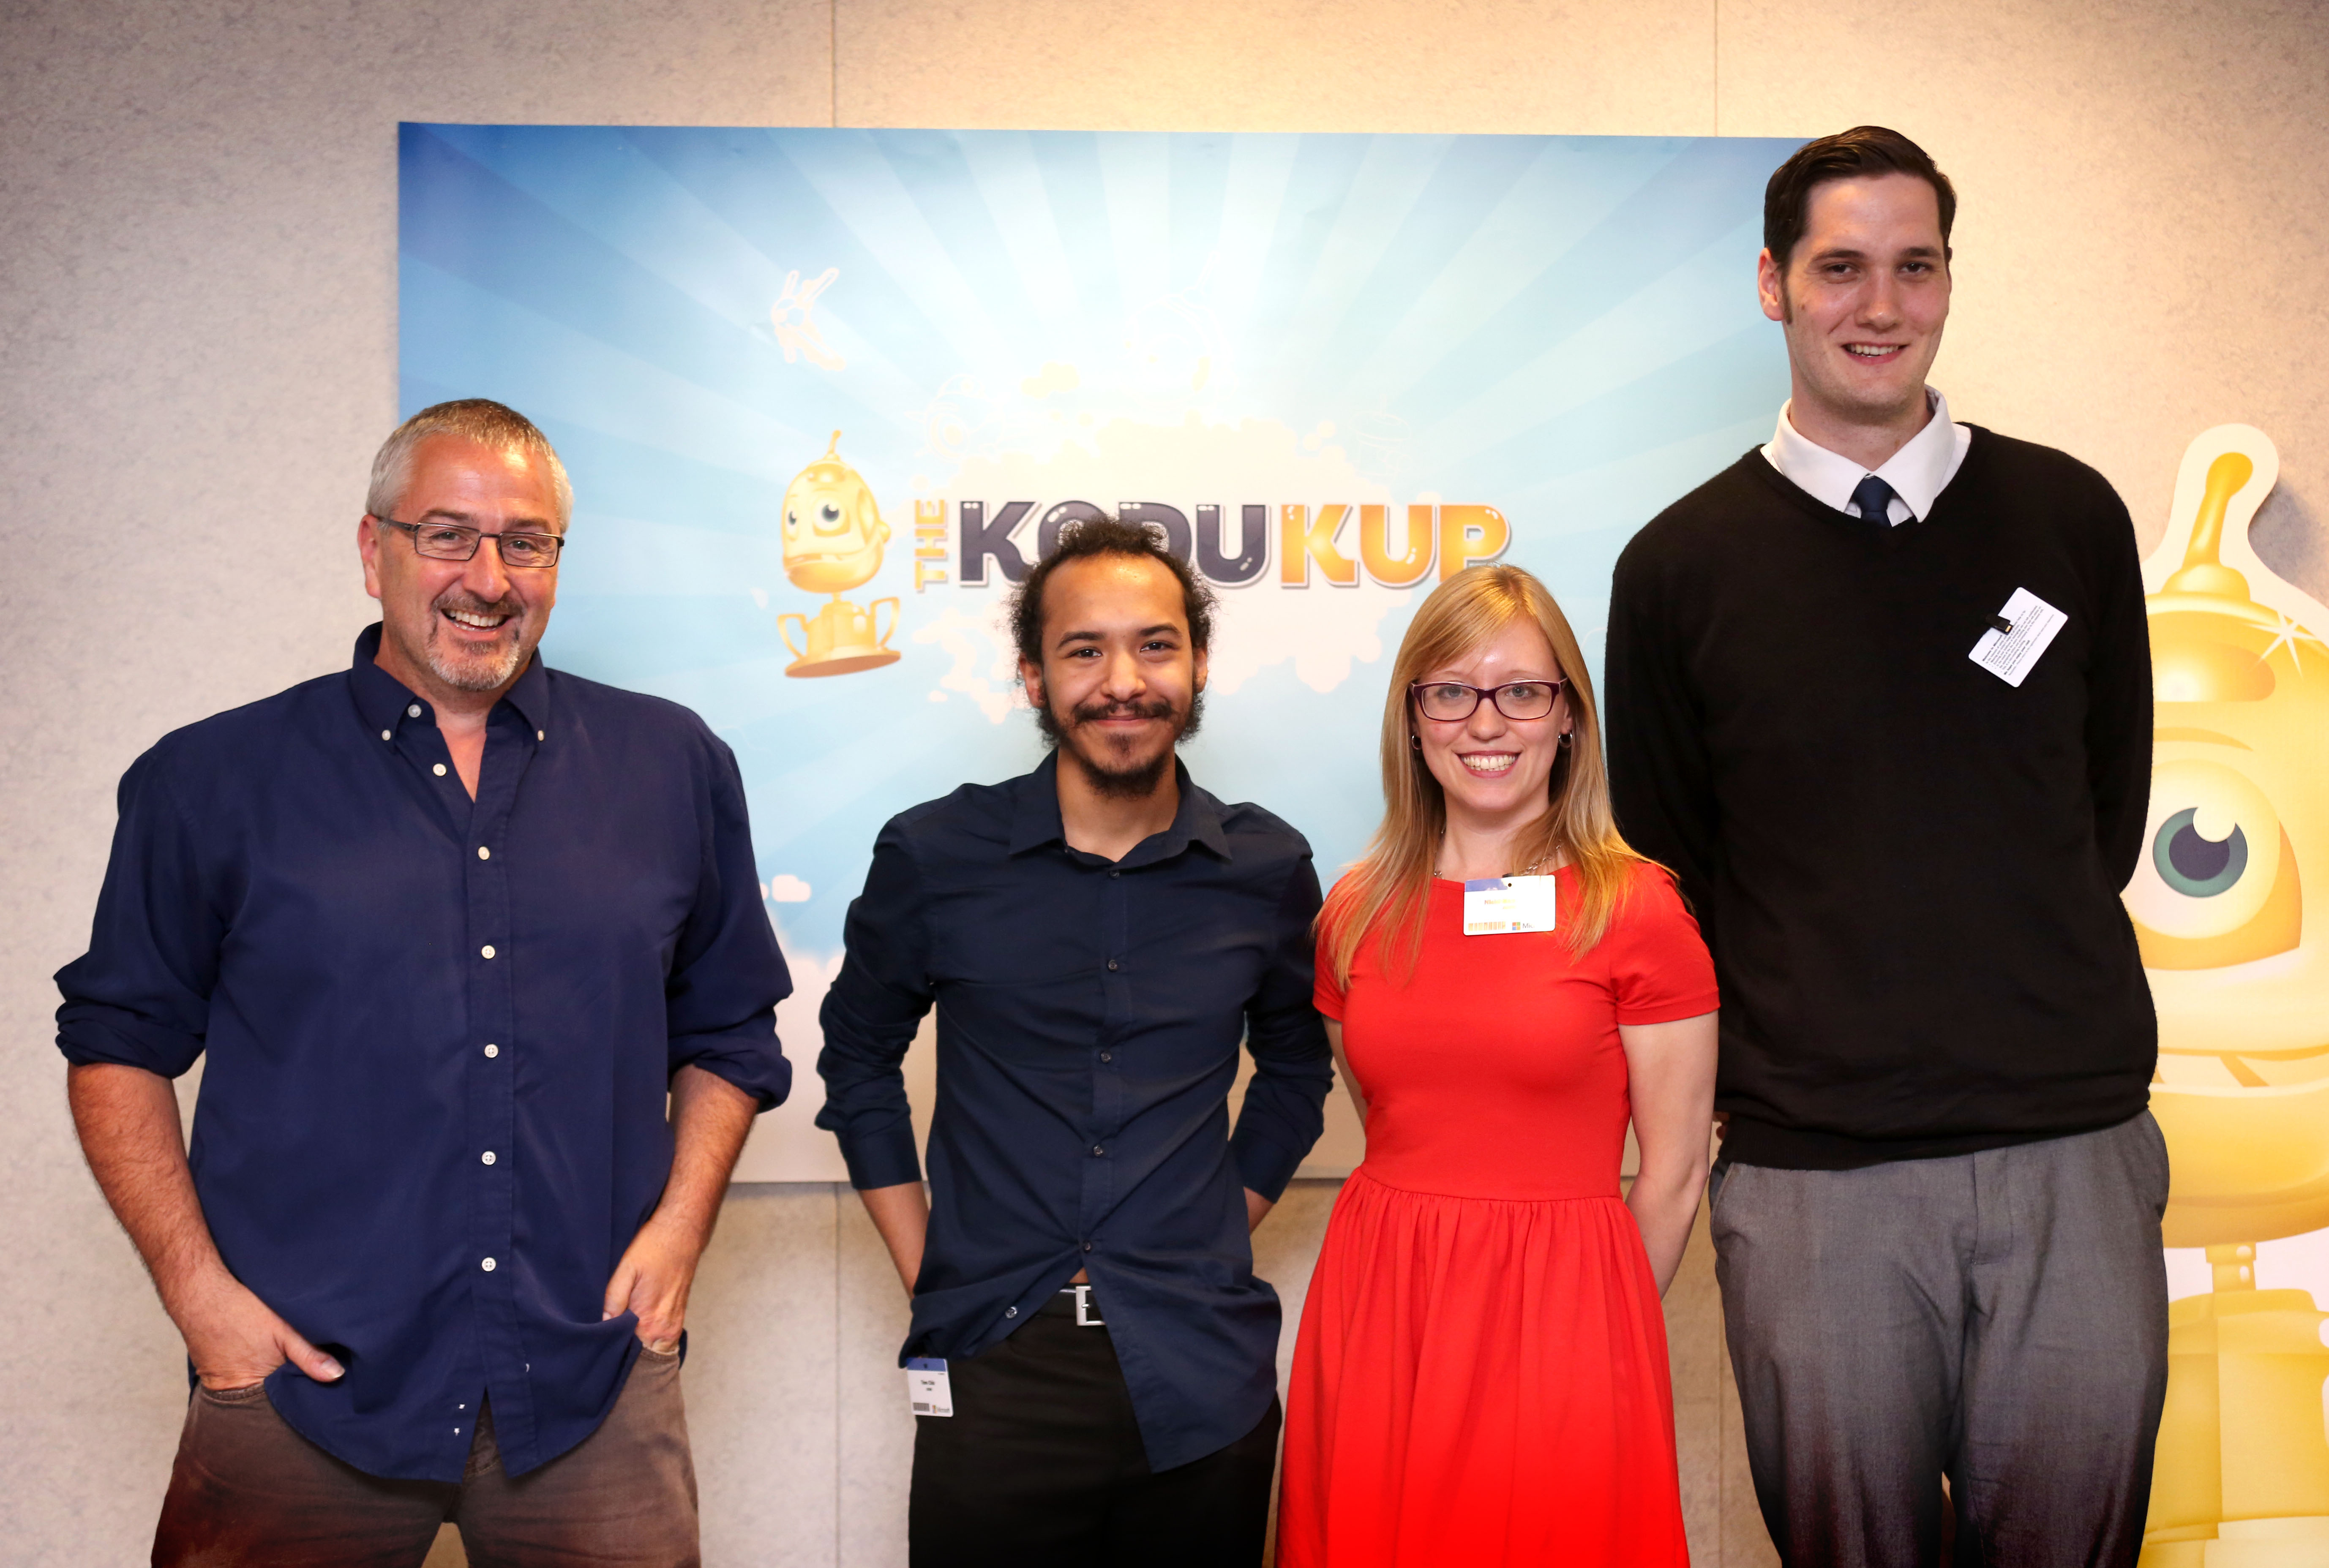
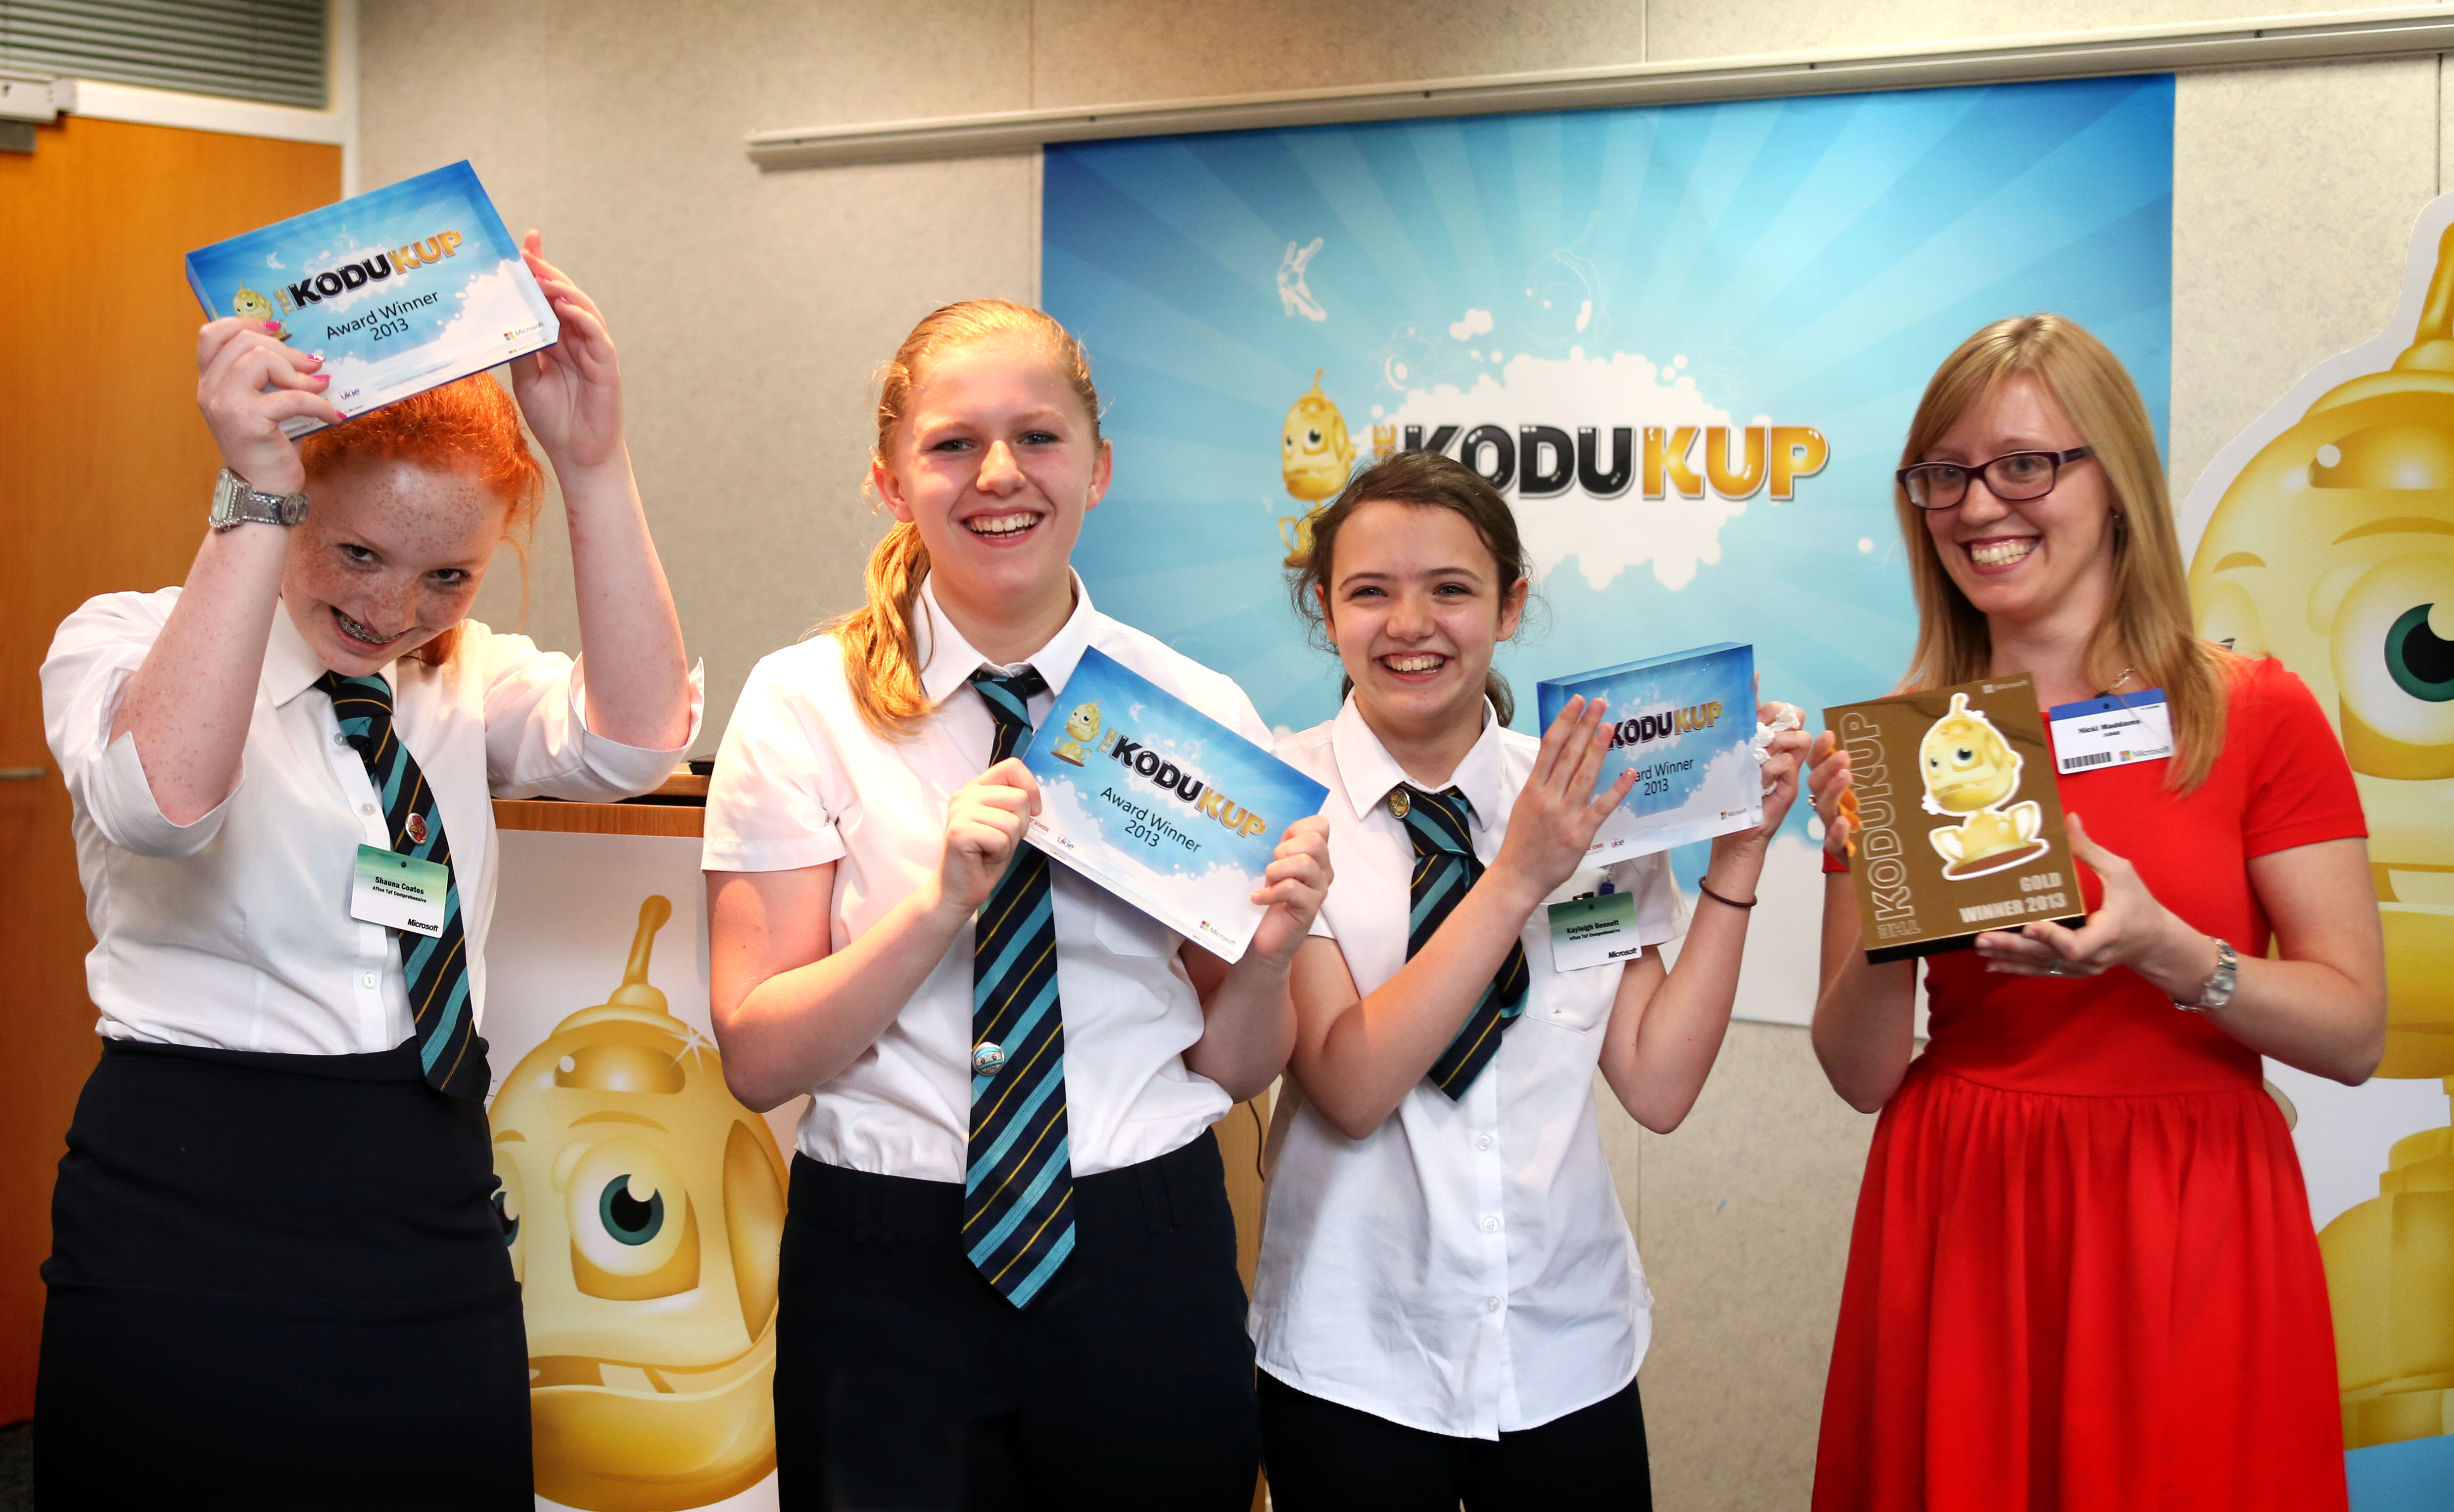
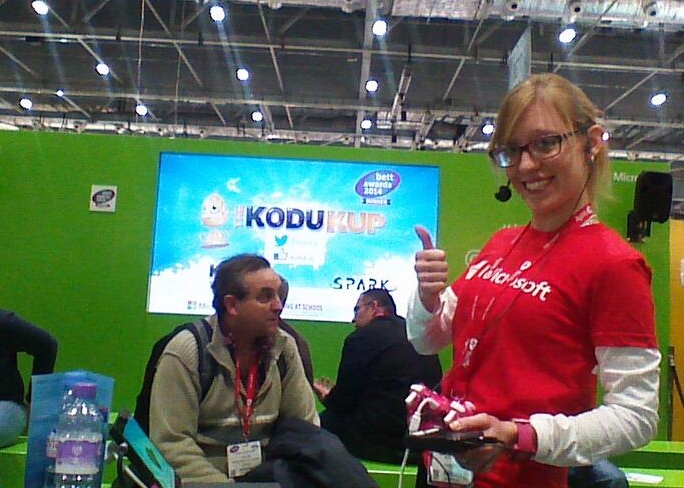
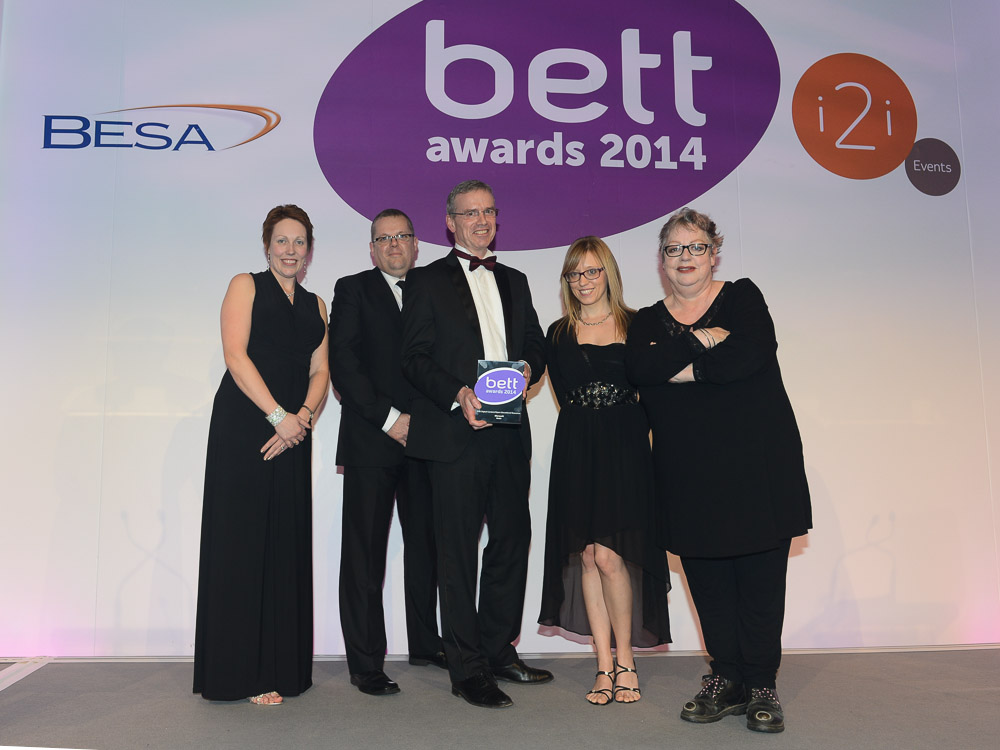
Last Wednesday also saw the results of the BETT Awards at a lovely black-tie event at The Brewery in London. I’m really pleased to say Kodu won the award for “Free Digital Content/Open Educational Resources”! Being part of the Kodu Kup team last year, it was really exciting to be nominated, the competition reached out to 70,000 children across the UK, encouraging them to get involved with coding their own games. Throughout the competition we provided schools with free teaching materials (not to mention the fact that the software is also free!). There is more to come this year! Last years’ competition was such a huge success so for this to be recognised at the prestigious BETT awards was fantastic!

Naace Impact Award Shortlist Nicki CooperNAACE Impact Award Nomination

I had another highlight on Thursday; I attended the NAACE stand to hear the shortlist of nominees for the NAACE Impact Awards only to discover I was on the shortlist for “Secondary Impact” for the resources I have been sharing on my website. It’s a real honour to be shortlisted, I couldn’t believe it when my name appeared on the screen!

General BETT Goodies

I did manage to have a wander around some of the other stands while at BETT and was particularly impressed with the following:

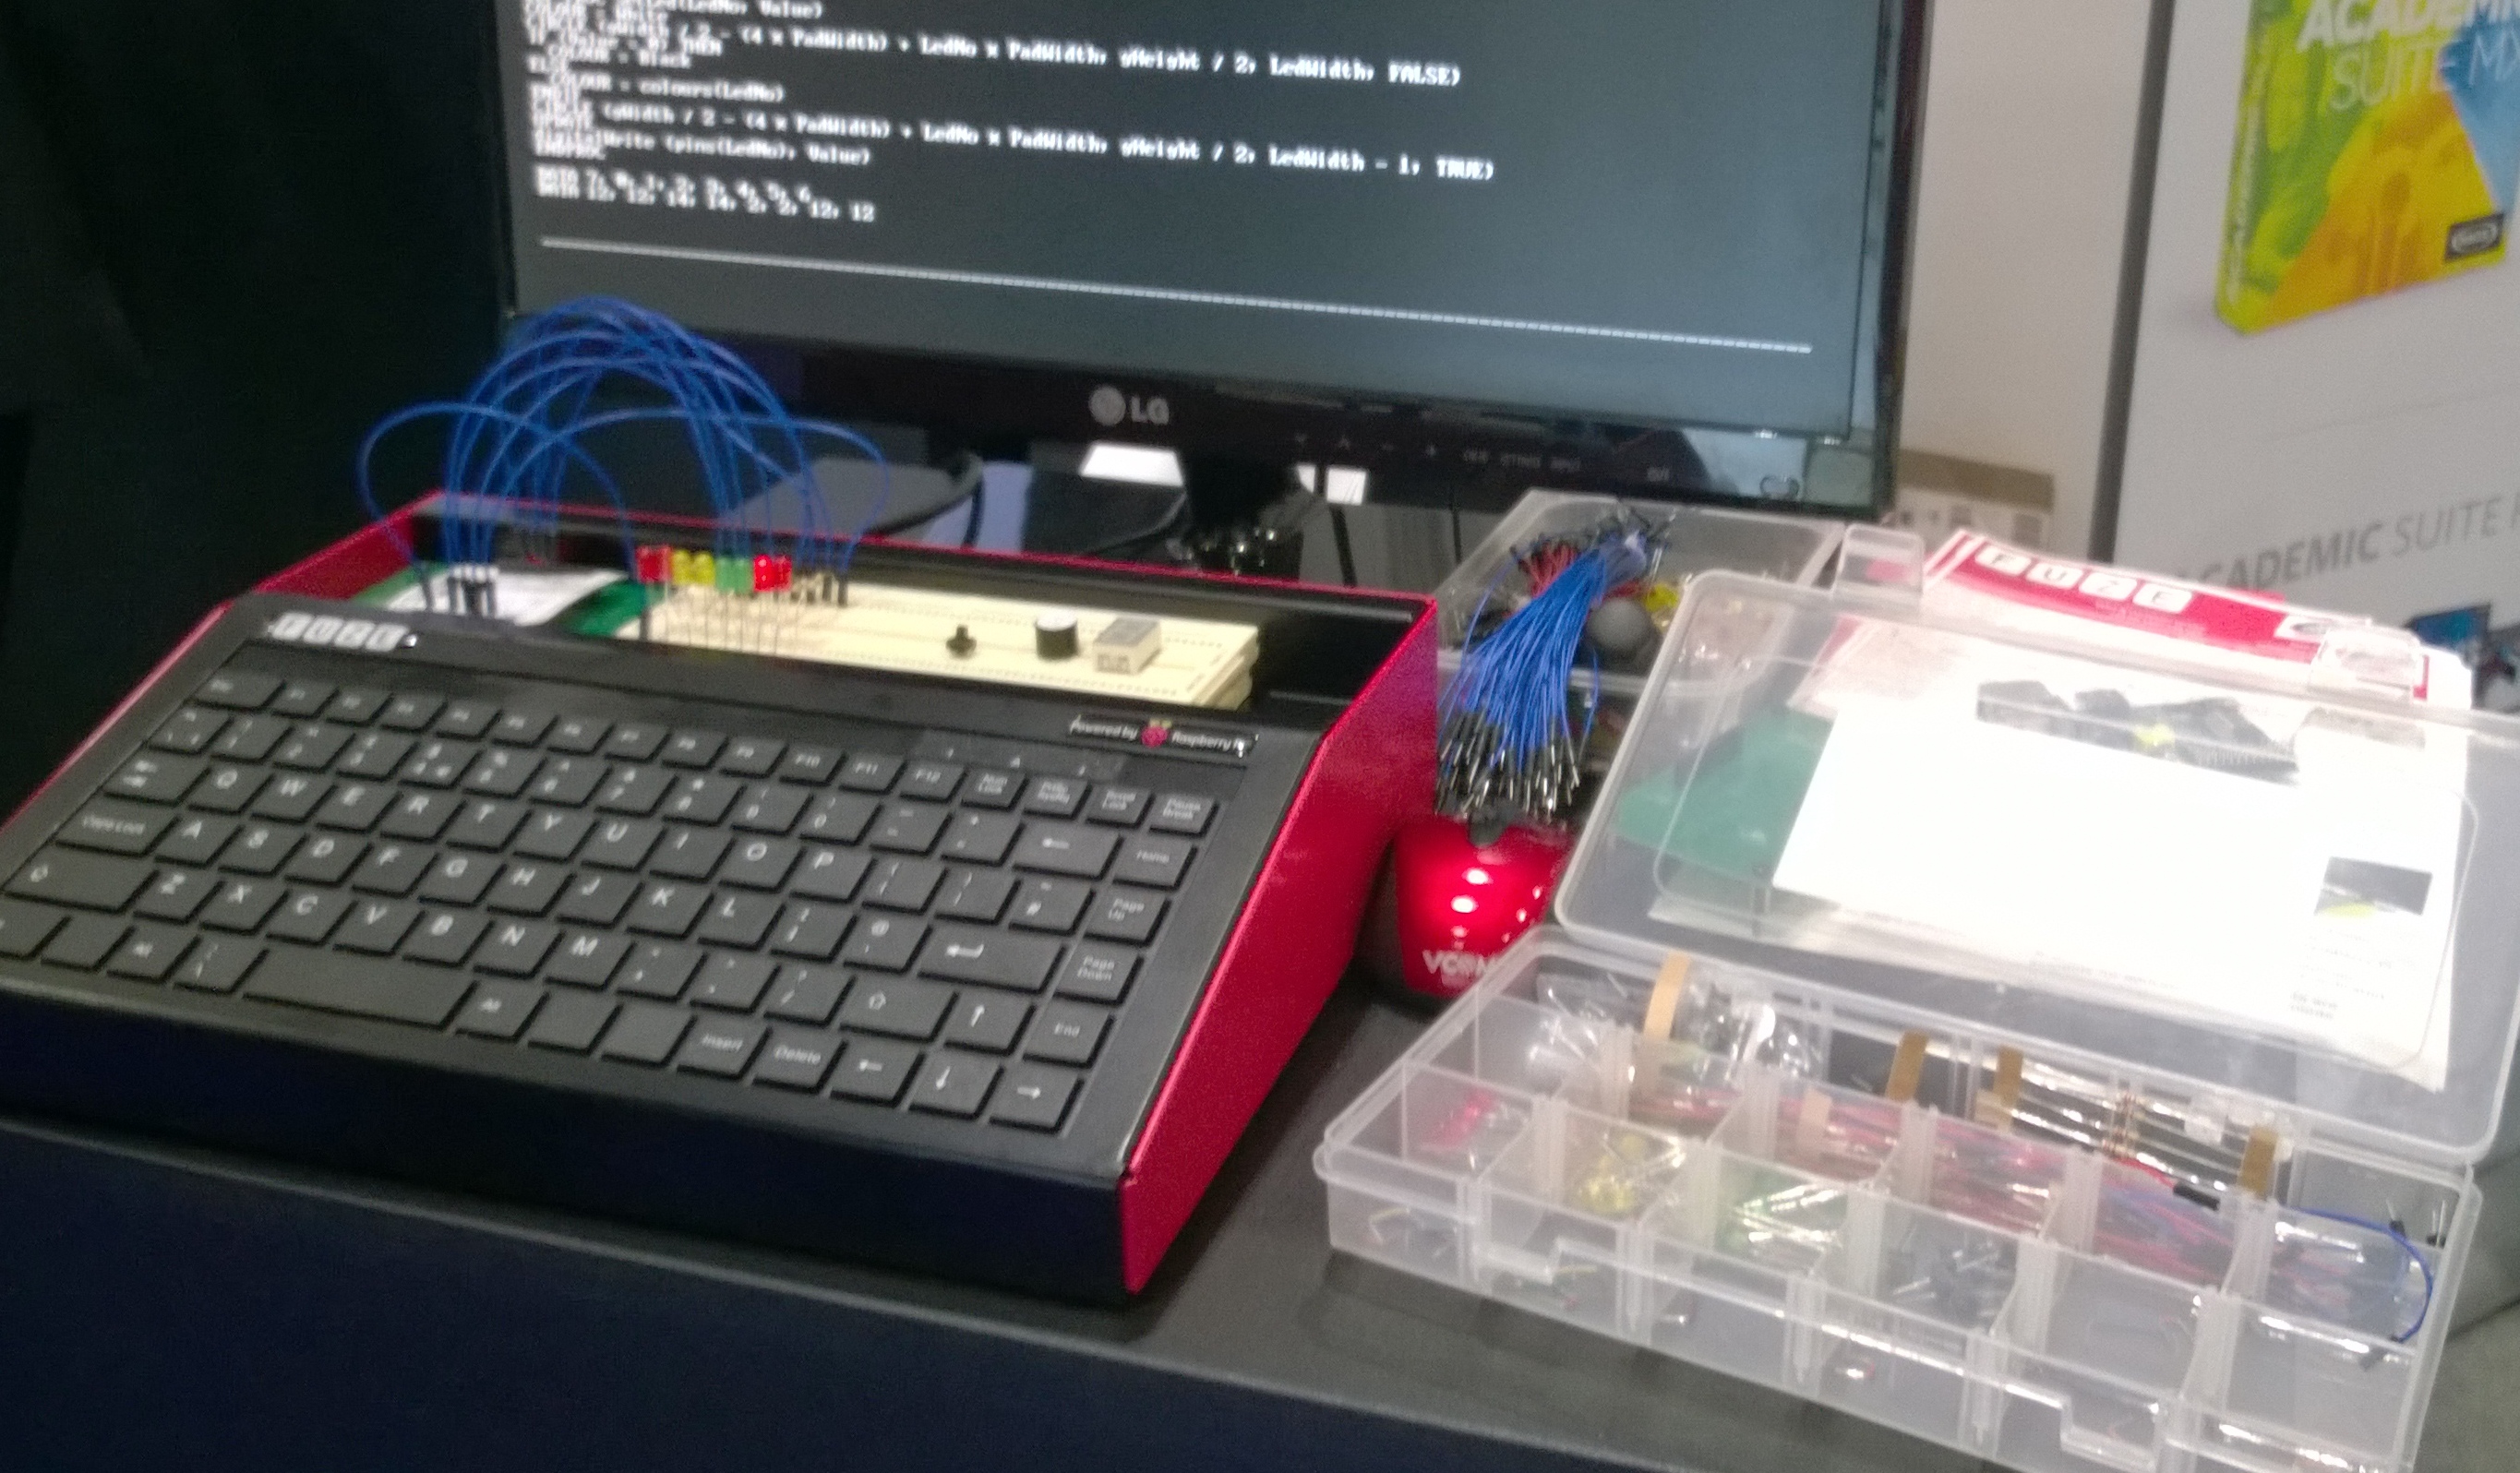
FUZE – This is programmable computer & electronics workstation that provides a sturdy metal casing for the Raspberry Pi with an integrated keyboard as well as an area on top to add a breadboard connected to a breakout board on the Pi. They sell kits with or without the Raspberry Pi, which also includes programming workbooks. I was very impressed! Here is what the kit looks like:

WP_20140122_006

Nao the Humanoid Robot – I discovered this robot last year at BETT but unfortunately he was well out of my budget, however OptiMusic provide workshops to schools where they bring along the robot for the children to program using a variety of languages. I’m particularly interested in my students programming them using Python so I will be talking to my school about the possibility of running a day of workshops soon!

Rising Stars Switched on Computing – Another BETT Award Winner. Rising Stars have developed a range of primary resources for all subjects and have just realised a Computing pack, which we were giving away on the Microsoft stand.

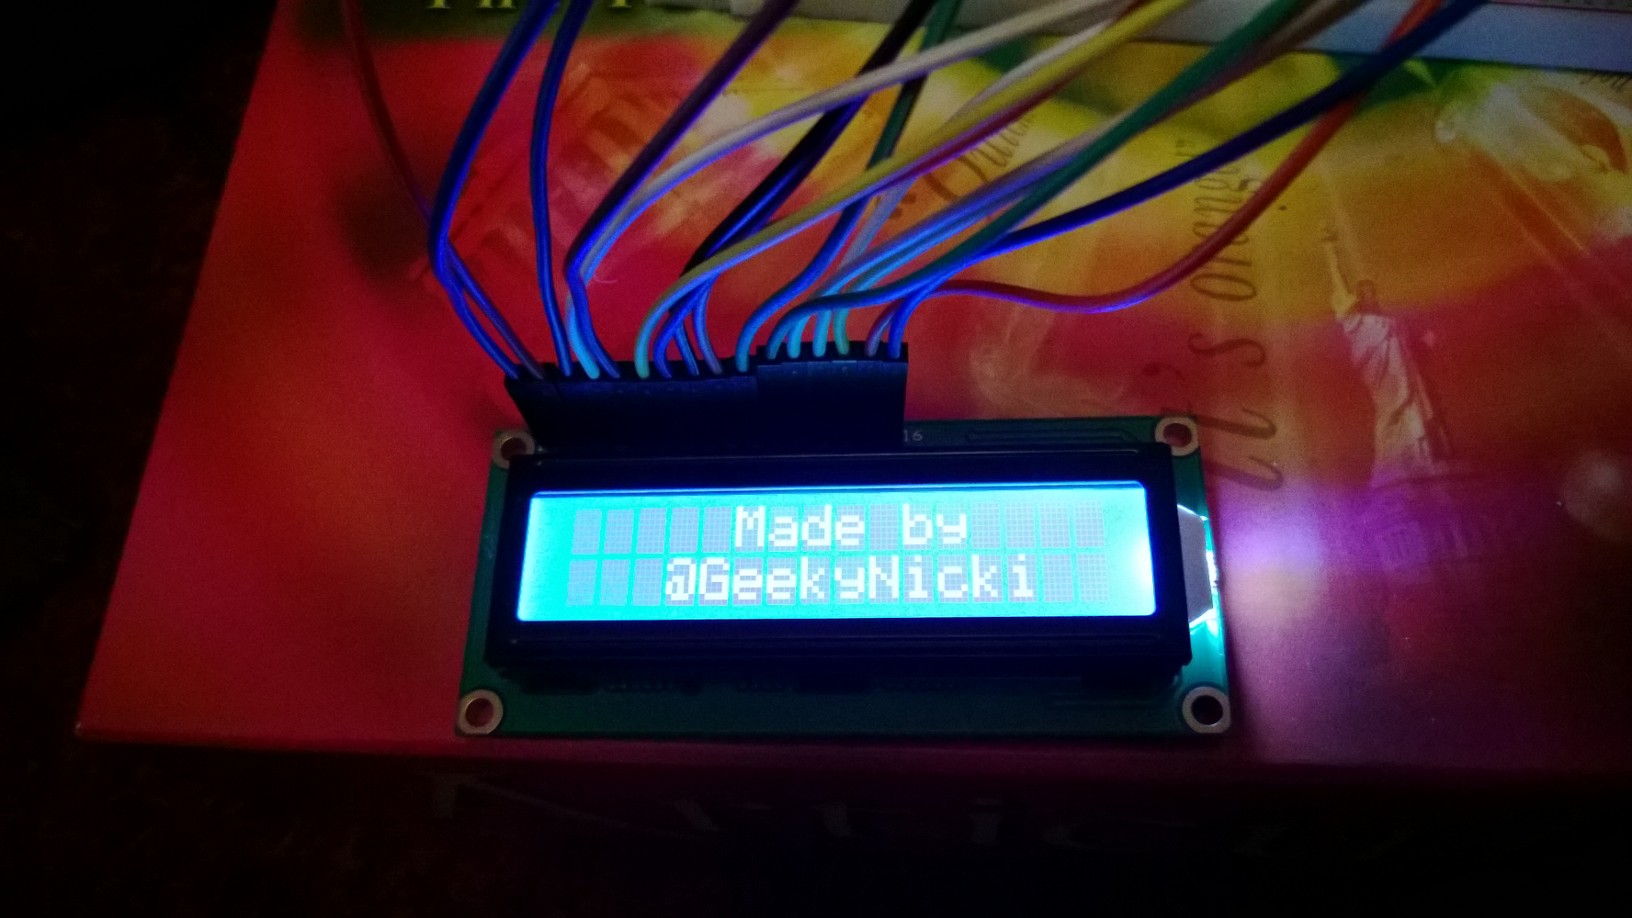
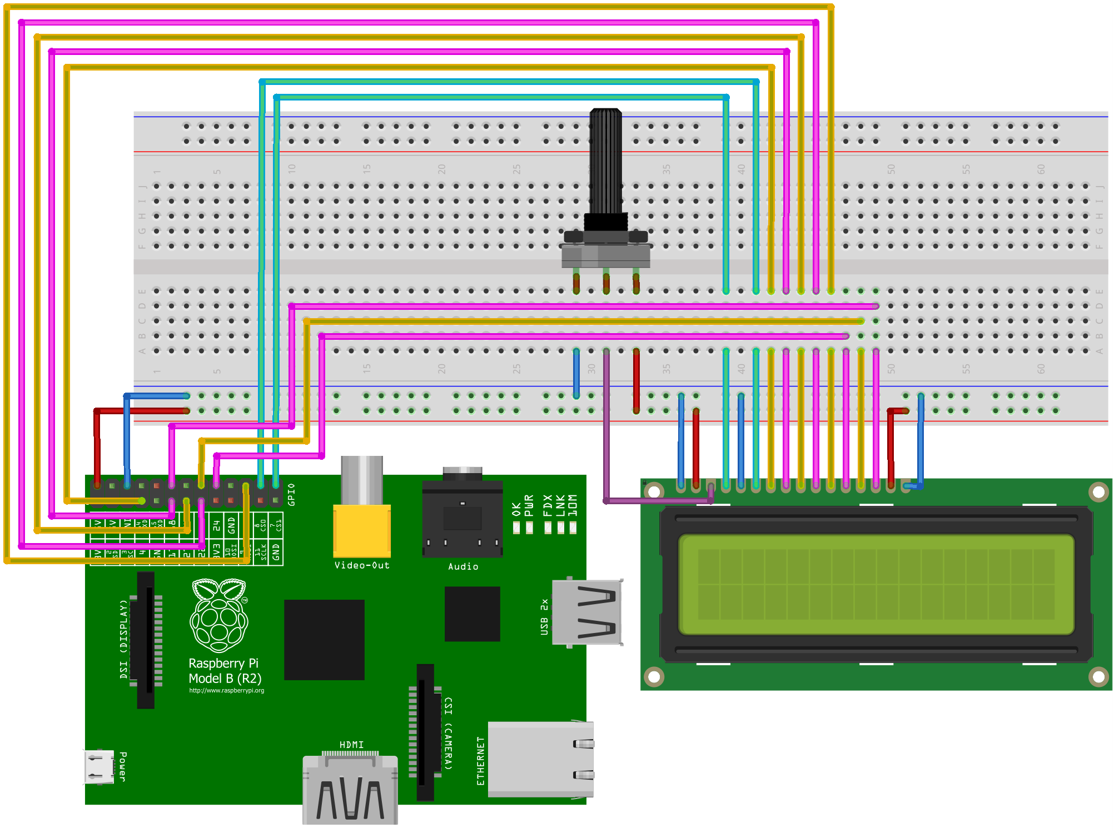
I noticed there were a lot of Arduino and electronics based projects popping up at this year’s exhibition. I need to look into these in more detail as I’m certainly keen to get involved with some hardware programming in the future.


Raspberry Pi Project: LCD Screen Programmed in Python

LCD ScreenFor Christmas I received a number of “toys” to play with from my husband. One of which was a geeky box of goodies for my Raspberry Pi that includes a breadboard, wires and an array of other electronic components including LEDs, resistors and an LCD screen. I immediately decided that the LCD screen was to be my  first Raspberry Pi Project (as I really can’t take any credit for the PiSofa)

My first job was to  solder some connection pins onto the LCD screen so I could connect it to the breadboard and  Pi using jumper wires. I followed this guide online to get me started but modified some of the wiring slightly. In the guide they used the LCD in 4-bit mode but I changed my wiring to set it up in 8-bit mode instead. I also later discovered that I needed some control over the contrast pin so wired in a potentiometer to allow me to adjust the contrast. This is how my wiring looks:

Wiring diagram for LCD screen and Raspberry Pi

Wiring diagram for LCD screen and Raspberry Pi

To initialise and set up the screen I used another guide to gain an understanding of some of the initialisation commands and created a bash script to set it all up and check it was working; this revealed a few wiring problems, and was also the point at which I added the potentiometer as the contrast was making it difficult to read my test letter “A”.

Now it was time for my main mission which was creating a Python program to control the LCD screen. First I worked on creating a program that simply mimicked the bash script, as this was quite untidy I set to work on reducing the amount of repeated code using functions to set pins using binary. In the original guide I had seen the data was set in hex but I prefer using binary as I understand the logic behind it more than using the hex data. Especially as I essentially just want to send True or False commands to the pins.

By this time I had found an even better guide  that told me what commands could be sent to the screen for initialisation and what they all meant. To initialise my LCD screen I am doing the following:

  • Setting all pins to output
  • Setting all pin values to false
  • Sending the code 38 in hex/56 decimal – Setting the LCD to 8-bit and 2 lines
  • Sending the code 1 in hex/decimal – Clearing the LCD display
  • Sending the code 0C in hex/12 decimal –  Sets the display to on and turns off the cursor
  • Sending the code 6 in hex/decimal – Sets the screen to entry mode

Below is how my initialisation function looks. I should note that prior to this I imported the GPIO and time libraries and declared the locations of each of the pins, setting up the data pins as a list/array.

LCD Initialisation Sequence

LCD initialisation sequence in Python

As you can see, this initialisation function calls another function to convert the integer values to binary, which in turn accesses a function that sets these values on the LCD screen. These functions looks like this:

Functions to convert to binary and set the control pins on the LCD screen

Functions to convert to binary and set the control pins on the LCD screen

After the initialisation sequence the screen is ready to display some text, I made a function that reads in a text sequence along with the line number, converts each character to binary then sends this value to my existing ‘setPins’ function to write the text to the screen. When actually writing to the screen it is important to set the RS pin to ‘data input mode’ by setting it to ‘True’, otherwise it is in ‘instruction mode’ and won’t display anything on the screen. This is how it looks:

writeText Function in Python

Function to write text to the LCD screen in Python

Once the functions have been created all that is left is to test them out by actually calling them in the code with some test data:

Calling the Functions

Calling the functions with some text to test out

I’m hoping to update this program with some additional functionality such as scrolling text and maybe transition effects. If you have any other ideas please comment below! For now though, I’m going to play with some of my other Christmas presents, which include BrickPi, MakeyMakey and Dead Rising 3 . . .

The full Python program for the LCD screen can be downloaded from GitHub. Happy coding and Happy New Year! 🙂

Raspberry Pi Controlled Sofa

Since getting married a couple of months ago I’m slowly getting back into the ‘swing of things’! It has been a busy few months as I have also left my school of nine years and will be starting a new role in January. The handover process took quite some time!

New IconThis post differs from my other posts as it is about more of a personal project rather than a school one. It is equally as geeky however and I will be investigating how this can be simplified into a school project around ‘Automating your Home’ in the future. Hopefully you will find it interesting! As you can imagine, married life brings about new challenges and in our household, the first of which was the big question . . . How do we control our new reclining sofa from our mobile devices? Pushing a button next to the seat just seemed too easy for us, so we (mostly my husband) set out on a project to take control over this small part of our living room.

We bought the new sofa from DFS back in September knowing it would not be delivered until after we returned from our honeymoon in November. My husband, Kevin, likes a challenge and thought about controlling it with our Raspberry Pi using the GPIO pins. First he bought a solid state relay module which he powered from the Pi so no external power was needed. Unfortunately this type of relay typically only works with AC current as they switch off at 0 volts so we were not able to use them. He therefore had to buy a normal relay module; this requires 72 mAmps per relay (504 mAmps total) so required an external power supply.

Next, Kevin needed to turn the Pi into a web server so he could access the sofa controls over our home network. He decided to use Ruby to build this as it met all the requirements. Ruby uses modules, known as ‘gems’ and he used the Pi_piper gem, which is widely used to control GPIO pins, and the Sinatra gem to create a RESTful API. The plan was to keep the sofa switches independent and use the Pi as a secondary controller accessed using a smartphone app.

Then the big day arrived (no, not the wedding day, although that was pretty big too . . . but “Sofa Delivery Day!”), before the delivery truck had pulled out of the road Kevin had the sofa on its side and enlisted my assistance to document the pin outputs from the din connectors. At this point we discovered that due to the pin layout it was not possible to keep the relay module and the sofa switches connected at the same time due to the pins being grounded when they are not in use. The only alternative was to plug all the switches into the Pi so that the Pi now has complete control over the sofa.

Prototype using a breadboard

Prototype using a breadboard

Of course with this new method it was important to protect the Pi from the high voltage of the sofa. We used optocouplers to separate the voltages and detect button presses. The sofa position is tracked using time from the upright position. This isn’t perfect but without adding sensors it was the best way possible. Now he understood how the whole system would work Kevin planned Version 1 on a breadboard using Fritzing and used their fabricate service to have the circuit board manufactured.

PiSofa Board V1 Circuit Board

PiSofa V1 circuit board design in Fritzing

The board arrived on 23rd December so on Christmas Eve, while I was cooking up Christmas delights in the form of mince pies, Kevin set to work wiring up and soldering the circuit board.

PiSofaV1

Version 1 of the PiSofa set up behind the sofa

The end result: We now have  a fully functional reclining sofa that we can control using an app on our smartphones (and Kevin’s new Pebble Smartwatch!)

Pebble Watch and Phone App

Kevin modelling the apps he made on his phone and new Pebble smartwatch

The apps are quite simple; they send web requests to the API which switches on relays to move the seats on the sofa. We have even incorporated a few extra modes such as “Crazy Mode” in which the buttons control random seats and “Parental Mode” to deactivate the sofa’s physical buttons (we’ll be trying this out tomorrow when entertaining our young nieces!). To read the full documentation for the project click here.

Future Improvements

Kevin is currently working on an improved version of our PiSofa now he has a better understanding of the electronics involved. These improvements consist of the following:

  • Removing the 5 pin din connectors on the Pisofa board as they are big and take up a lot of space
  • Removing the optocouplers (the voltage doesn’t fluctuate so can be correctly managed with a voltage divider circuit instead)
  • Replacing the large overpowered relay board with lower powered 5mm relays. These run at just 34 mAmps each (238 for all 7). This means the PiSofa board could be powered directly from the Pi
  • The new board will attach directly to the Pi and the board size will only be 2mm bigger

So far, the new circuit board design looks like this:

PiSofa Board V2

PiSofa V2 Circuit Board in Fritzing (currently a work-in-progress)


Where has my Summer Gone?

Nicki   September 30, 2013   No Comments on Where has my Summer Gone?

I just wanted to add a quick post as it dawned on me that I’d almost vanished from the Internet (well Twitter at least) all summer! I have also neglected my blog so apologies if you have added comments, to which I have only just replied. 
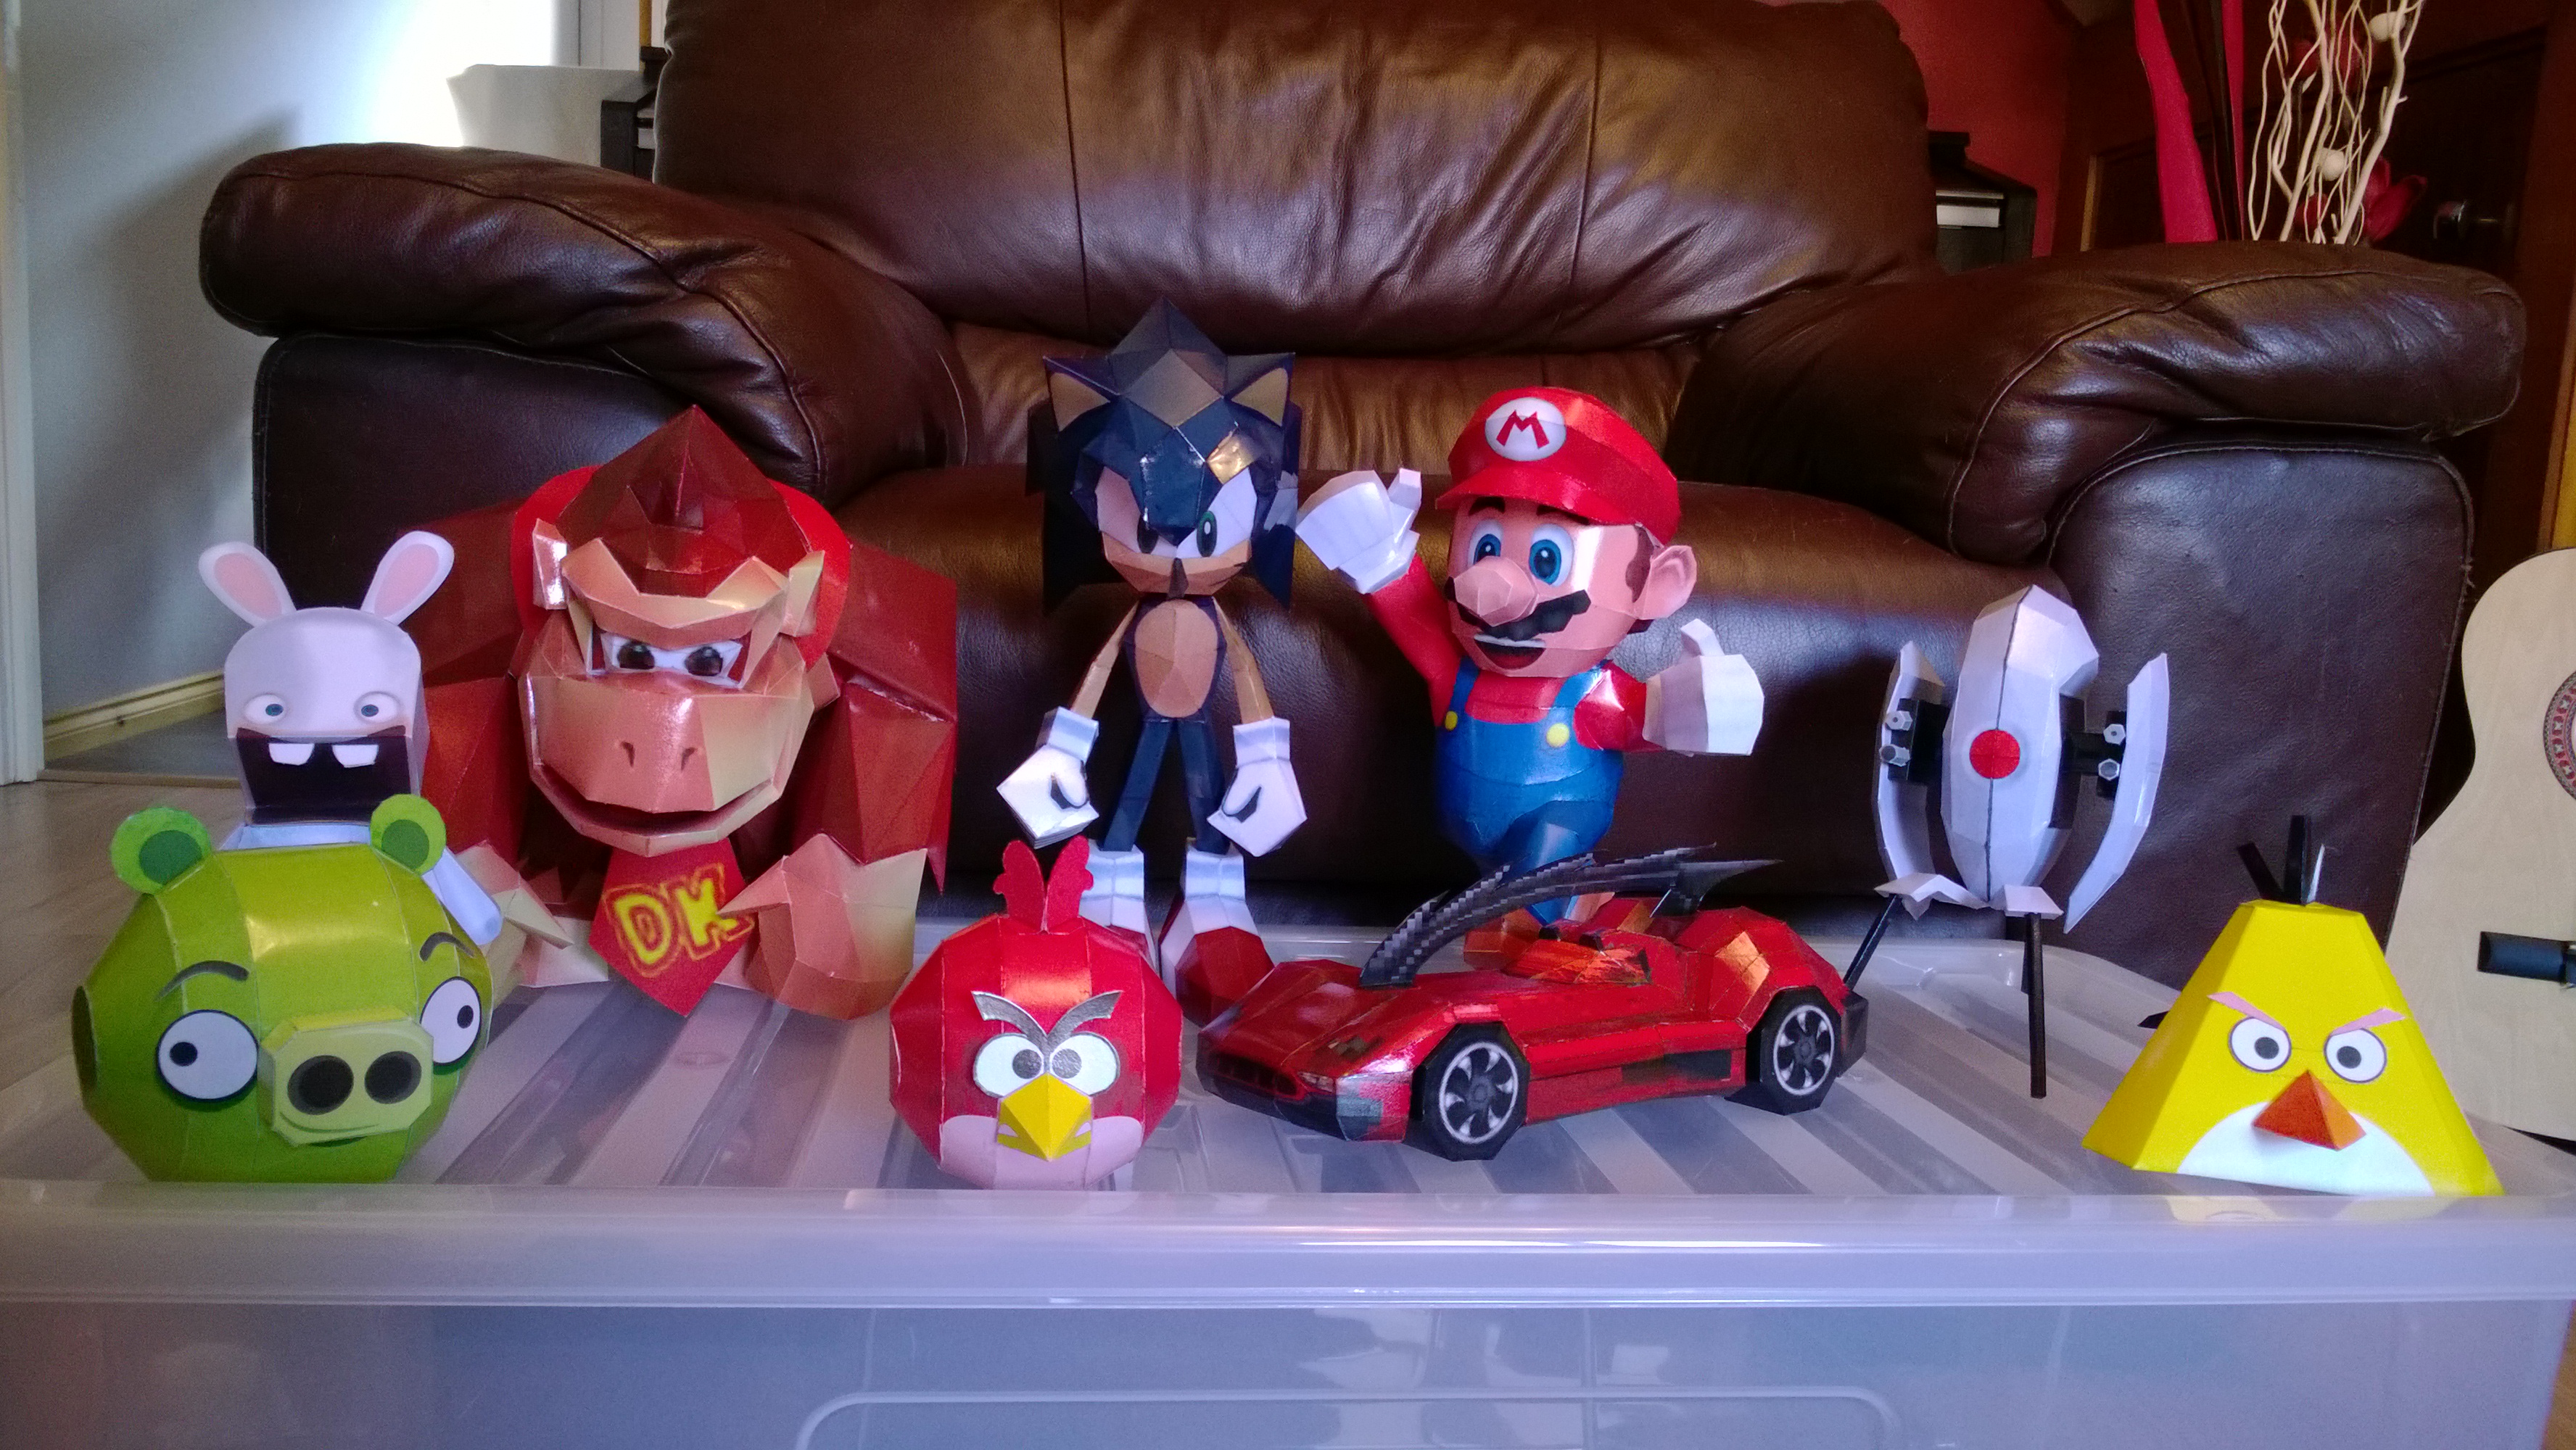
The reason? I am planning a wedding! I got engaged to my long-term partner at Christmas and we are due to get married in only a few weeks. As a result I dedicated my summer holiday to making papercraft table centre-pieces, the intention being to actually finish them over the summer affording me a stress-free start to term! Ha ha! Well things didn’t quite go to plan as the papercrafting turned out to be a lot more time-consuming that I had originally planned and as a result I am still spending most evenings and weekends, in between lesson planning, working on them with only one more left to do (Lara Croft)!

Being the geek that I am I’m sure you will not be surprised to hear that we are having a geeky theme to our wedding in the form of computer games with each table being named after one of our favourite games (yes, my future husband is a bit of a geek too!). So here is the result of my summer of hard work:

I should also mention another success of my summer which was being featured on television with some of my students, you can check out the condensed version of Propellor TV’s Business World here:

Again, apologies if you post comments or email me and I take a long time to respond! Please be patient! Once I return from my honeymoon in early November I’ll be back to business!


The Kodu Kup

Nicki   July 8, 2013   4 Comments on The Kodu Kup

Throughout this year I have been working with Stuart Ball from Microsoft one day per week on their UK Kodu Kup competition. Before the launch I was responsible for producing a lot of the teachers’ resources and was part of the launch event at BETT back in January. Since then I have been out and about visiting schools, delivering teacher-training sessions and have even visited the House of Lords promoting the competition (alongside my other mission of girls in Tech!).

My role also entailed downloading, playing and collating each of the entries ready for the final judging and I was later honoured to be asked to form part of the judging panel on the day which I was really excited about; although I underestimated how difficult this job would be!

Final 11

After a long wait, on Friday the final of the Kodu Kup had at last arrived  and took place at Microsoft HQ in Reading. Eleven teams were competing to receive the Kodu Kup Gold award along with an Xbox 360 each! The teams took it in turns to present themselves and their games one by one and I have to say I was blown away by the quality of the presentations by all of the groups. Each had prepared video trailers of their games and many had put a lot of detail into their presentations, some even talked about costings, research, testing and future plans!

The Kodu Kup judges

The team of judges (pictured on the left) consisted of myself, Gary Carr of Lionhead Studios, Theo Chin of Indie Skies and Ray Chambers, Head of ICT at Uppingham Community College. As the displays were so fantastic we had a really tough time judging and even ran over our allotted time trying to decide! Our “final three” remained a “final five” up until the last few minutes and then we had the difficult job of deciding the order of the final three. After much deliberation we finally decided on the winning teams as follows:

  1. Afon Taf High School – Dark Side of Mars
  2. Lister Community School – Hyper Space Invaders
  3. Putney High School – Cycle and the Jetataur

The Kodu Kup winners from Afon Taf School

Each of these not only had superb games but also gave very good presentations and I was touched to be the one to present them with their awards. I particularly liked how the girls from Afon Taf High School talked about how they wish to inspire more girls to go into the gaming industry and had even prepared questions for us as judges. They have set up their own Game Studio called Artemis Games and I know they have lots of plans for the future; I am very keen to see what they produce next! The boys from Lister Community School made an excellent remake of Space Invaders with multiple levels and were clearly passionate about the work they had produced. The group from Putney High School was another all-girl group who produced a remake of the arcade game, Labyrinth, but with a Greek Mythology twist, I really liked how they plan to expand their game empire with more Mythology-themed games to educate other children.

I have been so impressed with the standard of games produced for this competition, it’s very inspiring to see so many schools are now using Kodu Game Lab as a tool for teaching programming. I know this competition will be even bigger and better next year as more schools hear about it. You can view all of the final 11 entries on the Kodu Game Lab website.

Toxic Pandas Tshirt

Lastly, some particular highlights for me that I wanted to mention include another entry from Afon Taf High School called Nexus, a Mars-themed game with a great storyline. I also enjoyed playing a game called Kodu Koldasack by the team at Cadaxton Primary, a very addictive remake of Frogger which after many attempts I still have yet to complete! There were also two lovely water-themed games that I really liked which were  ‘Desert Breakdown‘ from Bushfield School and ‘Factory Pollu‘ by Barlows Primary. I also loved the way Barlows Primary had created a whole house style and company logo for themselves with their team being called the Toxic Pandas, they even prepared a goodie-bag for each of the judges which included biscuits, a mug and a t-shirt (which I am proudly modelling on the right!)

This is the end for the Kodu Kup 2013 but keep an eye out for more competitions in the future by checking the Microsoft Teachers’ Blog and following Kodu Kup on Twitter and Facebook!

Nicki Maddams and Stuart Ball